

Natural henna cones are safer, cheaper, and more customizable than store-bought versions, which often contain harmful chemicals like PPD (para-phenylenediamine). This guide covers the exact recipe, 3 cone-rolling methods, and pro tips for darker stains.
Natural henna stains range from bright orange to deep reddish-brown within 24–48 hours. The final shade depends on body chemistry, preparation quality, and aftercare.
This guide will teach you to make professional-quality cones at home, ensuring rich, long-lasting designs perfect for weddings, Eid, or festivals.
Table of Contents
ToggleWhy Make Mehndi Cones at Home?
Control Ingredients: Avoid toxic additives in commercial cones.
Darker Stains: Natural recipes release more lawsone (staining pigment).
Cost-Effective: Save 70% compared to branded cones.
Customization: Adjust thickness, scent, and color for your skin type.
How to Choose High-Quality Henna Powder
The quality of your henna powder directly determines the depth and longevity of your stain. Not all henna powders are the same.
When buying henna powder, look for:
Fresh harvest date
Fine, smooth texture
Natural green color (not brown or dull)
Body-art quality (BAQ) labeling
No added chemicals or artificial dyes
Avoid powders that:
Have a strong artificial fragrance
Appear gray or overly dark
Clump excessively
Do not list ingredients clearly
Fresh henna releases more lawsone, the natural dye molecule responsible for staining the skin. Old or poorly stored powder will produce weak, patchy results no matter how well you prepare the paste.
If possible, buy from trusted suppliers who specialize in natural henna rather than general beauty stores.
Ingredients & Tools You'll Need
Ingredients:
100g fresh henna powder (Jamila or Rajasthani brands for high lawsone content).
1 cup lemon juice (acid activates dye release).
2 tbsp white sugar (improves consistency).
1 tsp essential oil (eucalyptus, tea tree, or cajeput for darker stains).
1 tsp strong black tea (optional for deeper color).
Tools:
Plastic wrap or cone-shaped freezer bags.
Mixing bowl and spoon.
Toothpick or skewer for pinhole.
Step-by-Step DIY Mehndi Cone Recipe
Step 1: Sift the Henna Powder
Sift 100g henna powder to remove lumps.
Pro Tip: Fresh, finely sifted powder ensures smooth paste and avoids clogged cones.
Step 2: Mix Lemon Juice and Sugar
Combine 1 cup lemon juice and 2 tbsp sugar. Stir until dissolved.
Science Hack: The acidity of lemon juice helps release lawsone, while sugar thickens the paste for crisp lines.
Step 3: Prepare the Henna Paste
Slowly add the lemon-sugar mix to the henna powder. Stir until it reaches a toothpaste-like consistency.
Cover with plastic wrap and let it rest for 12–24 hours in a warm place for dye release.
Sign of Readiness: A dark orange oil layer forms on top.
How to Know When Dye Release Is Complete
Many beginners rush the resting stage, which leads to lighter stains.
Proper dye release is essential.
You can test dye release by:
Placing a small dot of paste on your palm.
Leaving it for 5 minutes.
Wiping it off.
If it leaves a bright orange stain, dye release is active.
If the mark is faint or barely visible, allow the paste to rest longer.
Temperature affects dye release time:
Warm environments speed up the process.
Cold environments slow it down.
Ideal resting temperature is slightly warm room temperature, not direct heat.
Never microwave the paste. Excess heat destroys the dye molecules.
Step 4: Add Essential Oils and Tea
Mix in 1 tsp essential oil and 1 tsp cooled black tea (optional).
Dark Stain Secret: Eucalyptus oil boosts color, while black tea adds a reddish-brown tint.
Step 5: Fill the Cones
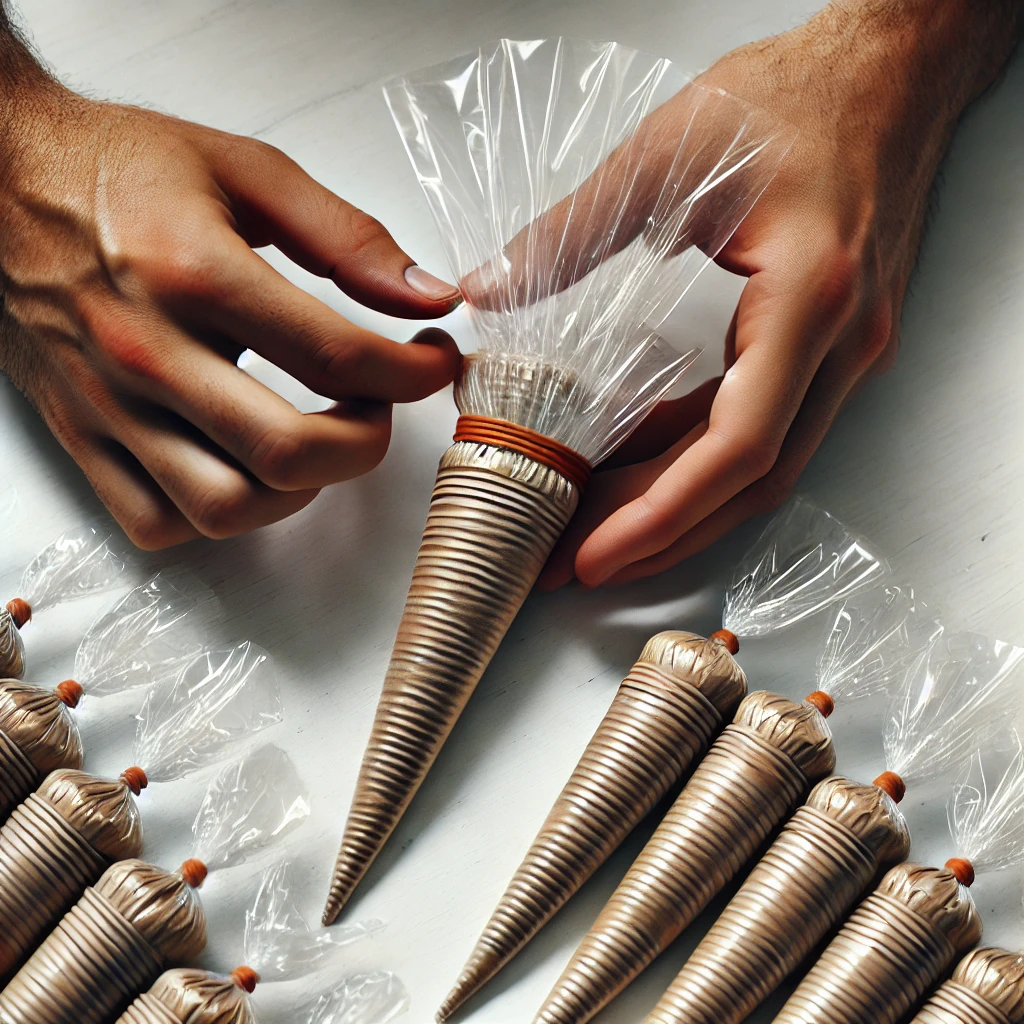
Cut a 12x12cm plastic sheet into a triangle. Roll it into a cone and secure with tape.
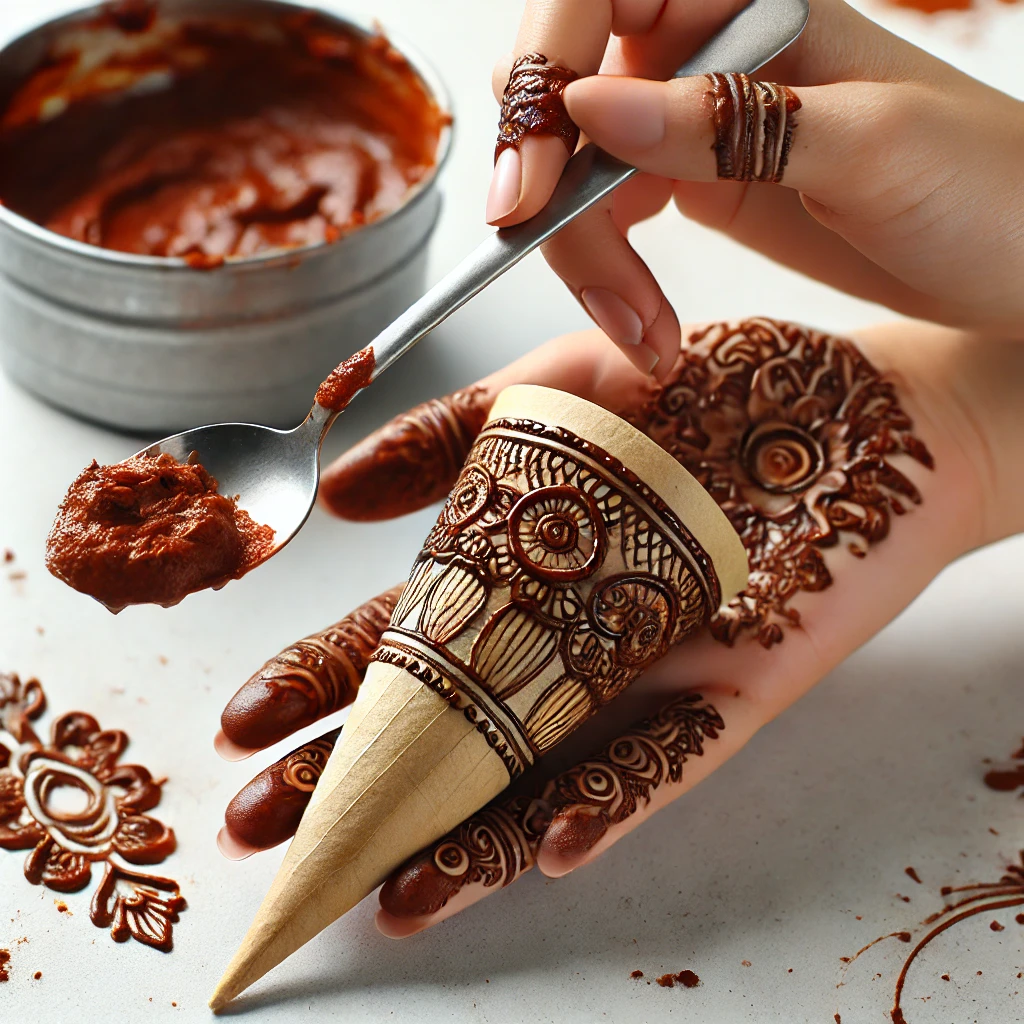
Use a spoon to fill the cone ¾ full. Fold the top and seal with tape.
Poke a tiny hole at the tip with a toothpick.
Pro Tips for Darker, Long-Lasting Mehndi Stains
Prep Skin: Exfoliate and moisturize hands/feet 24 hours before application.
Heat Therapy: Hold a warm cloth over dried mehndi to intensify the stain.
Avoid Water: Keep the area dry for 8–12 hours after application.

Common Mistakes When Making Homemade Mehndi Cones
Even small preparation mistakes can affect stain quality.
Here are the most common errors:
- Using boiling lemon juice
High heat can weaken the dye. - Adding too much liquid at once
This makes the paste runny and difficult to fix. - Skipping the sifting step
Lumps cause clogged cone tips. - Overusing essential oil
Too much oil can irritate skin and thin the paste. - Not sealing cones properly
Air exposure dries out the paste.
Taking extra care during preparation ensures smoother application and deeper color.
How to Store Homemade Mehndi Cones Properly
Proper storage extends the life of your cones and preserves stain strength.
Short-term storage
Keep cones in an airtight container in the refrigerator for up to 3 days.
Long-term storage
Freeze cones immediately after preparation. Frozen cones maintain stain quality for up to 3 months.
Before use:
Remove from freezer
Let thaw at room temperature for 30–45 minutes
Gently massage cone to restore smooth consistency
Avoid refreezing thawed cones, as repeated freezing reduces dye strength.
FAQs: Solving COmmon Mehndi Cone Problems
Q: Why is my homemade henna paste too runny?
A: Add more sifted henna powder or let the paste rest longer to thicken.
Q: How long do homemade cones last?
A: Store in the freezer for up to 3 months. Thaw for 30 minutes before use.
Q: Is black henna safe?
A: Never use “black henna” – it contains PPD, which causes burns. Stick to natural recipes.
Safety Warning
Always perform a patch test before full application.
Avoid “instant stain” products – they often contain harmful chemicals.
When Should You Avoid Homemade Mehndi Cones?
While homemade cones are safe and effective, they may not be ideal in certain situations.
Avoid DIY cones if:
You need extremely intricate bridal-level detailing and lack experience.
You are preparing cones for a large event without practice.
You are unsure about ingredient quality.
For weddings or professional-level designs, practicing in advance is strongly recommended.
Homemade mehndi works beautifully when prepared carefully and used confidently.
Conclusion
Making mehndi cones at home is easy, economical, and eco-friendly. With this natural recipe, you’ll achieve stunning, dark stains without risking your skin’s health. Share your creations with @Mehndi_Dez on Instagram, and explore our Mehndi Aftercare Guide to prolong your design’s life!
Save this guide for your next mehndi session! Pin the image below or bookmark this page.

